


Road Cycling Guide to Choosing the Right Bicycle Setup for Budget-Conscious Cyclists with a Focus on Fit for New Cyclists Leave a comment
Road Cycling Guide to Choosing the Right Bicycle Setup for Budget-Conscious Cyclists with a Focus on Fit for New Cyclists
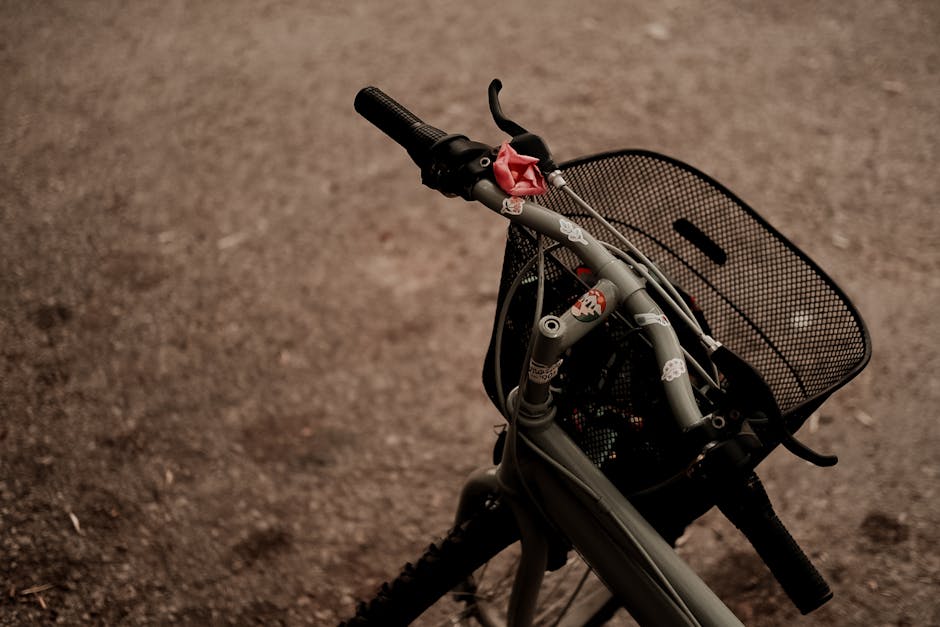
Starting your road cycling journey doesn’t require a high-end bike or professional fitting—just the right setup that matches your body, budget, and goals. For new cyclists, especially those watching their spending, finding a comfortable and efficient bike fit is the most important step toward enjoying long rides and avoiding injury. This road cycling guide walks you through how to choose the right bicycle setup without overspending, with a strong emphasis on fit, comfort, and smart component choices that deliver real value.
Why Fit Matters More Than Fancy Components
Many beginners assume that a more expensive bike automatically means a better ride. In reality, a poorly fitted bike—even a top-tier model—can cause discomfort, pain, and reduced performance. Conversely, a well-fitted entry-level bike can feel smooth, responsive, and enjoyable from day one. Fit determines how efficiently you transfer power, how comfortable you are over distance, and how likely you are to keep riding.
For budget-conscious cyclists, prioritizing fit over flashy parts is the smartest move. A good fit reduces strain on your back, knees, and wrists, helping you ride longer and recover faster. It also improves handling and control, which is especially important when you’re still building confidence on the road.
Common Fit Issues New Cyclists Face
- Saddle too high or low: Causes knee pain or inefficient pedaling.
- Reach too long or short: Leads to back, neck, or shoulder discomfort.
- Handlebars too low: Increases pressure on hands and wrists.
- Improper cleat alignment (if using clipless pedals): Can contribute to knee strain.
These issues are often mistaken for normal cycling discomfort, but they’re usually fixable with simple adjustments. The goal is to find a neutral, sustainable position that lets you pedal efficiently without strain.
Step-by-Step: How to Get the Right Fit on a Budget
You don’t need a $200 professional bike fit to get started. With a few measurements and basic tools, you can dial in a solid setup at home. Here’s how:
1. Measure Your Inseam
Your inseam is the foundation of your bike fit. Stand barefoot against a wall, place a book between your legs (spine up), and measure from the top of the book to the floor. This gives you your inseam length in centimeters.
Use this to estimate your saddle height: multiply your inseam by 0.883. For example, a 80 cm inseam gives a saddle height of about 70.6 cm (measured from the center of the bottom bracket to the top of the saddle).
2. Adjust Saddle Height
Set your saddle so that when your heel is on the pedal at the bottom of the stroke (6 o’clock), your leg is almost straight. When you switch to the ball of your foot, there should be a slight bend in the knee. This ensures full leg extension without overreaching.
Warning: Too high a saddle can cause rocking hips or lower back pain. Too low leads to knee strain and reduced power. Make small adjustments—1–2 mm at a time—and test ride for 10–15 minutes after each change.
3. Set Saddle Fore/Aft Position
This affects your reach to the handlebars and knee alignment. Sit on the saddle with the pedals level. Drop a plumb line from the front of your kneecap; it should land directly over the pedal axle (the “knee-over-pedal-spindle” or KOPS method).
If your knee falls behind the axle, slide the saddle forward. If it’s ahead, move it back. Most saddles allow 3–5 cm of adjustment. Use a ruler or tape measure to track changes.
4. Determine Handlebar Reach and Drop
Reach is how far you lean forward from the saddle to the handlebars. Drop is the vertical distance between the saddle and the handlebars.
For new cyclists, a more upright position (less drop, shorter reach) is usually more comfortable. Aim for a drop of 3–6 cm. If your back aches or you feel stretched out, raise the handlebars by adding spacers or flipping the stem.
Stems come in different lengths (70mm to 130mm). A shorter stem reduces reach; a longer one increases it. Many budget bikes come with adjustable stems, which are great for fine-tuning.
5. Check Cleat Position (If Applicable)
If you’re using clipless pedals, cleat placement is critical. The ball of your foot should sit directly over the pedal axle. Most shoes have a marking for this.
Start with the cleats in a neutral position—parallel to the shoe’s sole. Avoid extreme inward or outward angles unless you have a known biomechanical issue. Rotate the cleat slightly if you feel knee pain on the inside or outside.
Use a marker to note the original position before making changes. This lets you revert if needed.
Choosing the Right Bike Within Your Budget
Now that you understand fit, let’s talk about the bike itself. Budget-conscious cyclists should look for value, not just low price. A $600 bike with a good frame and basic components can outperform a $400 bike with poor geometry and heavy parts.
Frame Material: Aluminum vs. Steel vs. Carbon
For new riders, aluminum is the sweet spot. It’s lightweight, stiff, and affordable. Most entry-level road bikes use aluminum frames with carbon forks to absorb road vibration.
Steel is durable and offers a smooth ride but is heavier—better for touring or commuting than speed. Carbon is light and absorbs vibration well but is more expensive and fragile. Stick with aluminum unless you have specific needs.
Groupset: What You Really Need
The groupset includes gears, brakes, derailleurs, and shifters. For beginners, reliability and ease of use matter more than high-end performance.
Look for Shimano Claris, Sora, or Tiagra—these are proven, affordable, and serviceable. Avoid no-name or ultra-budget groupsets that may skip gears or wear out quickly.
Example: A bike with Shimano Sora offers 9-speed shifting, dual-pivot brakes, and solid durability for under $800. It’s a great starting point.
Wheels and Tires: Don’t Skimp Here
Wheels affect ride quality, speed, and comfort. Many budget bikes come with basic alloy wheels that are heavy and narrow.
Upgrade to wider tires (25c or 28c) if your frame allows. Wider tires run at lower pressure, absorb bumps better, and improve grip. A $50 pair of Continental Grand Prix 5000 tires can transform a bike’s feel.
Avoid ultra-thin tires (23c or less) unless you’re racing. They offer minimal comfort and are prone to punctures.
Brakes: Rim vs. Disc
Rim brakes (like caliper brakes) are common on budget road bikes. They’re lightweight and easy to maintain but less effective in wet conditions.
Disc brakes (mechanical or hydraulic) offer better stopping power and modulation, especially in rain. They’re becoming more common even on sub-$1,000 bikes.
If you ride in hilly areas or wet climates, prioritize disc brakes. If you’re on flat roads and dry weather, rim brakes are acceptable.
Where to Buy: New vs. Used vs. Online
Budget-conscious cyclists have options beyond big-box stores.
New Bikes from Reputable Brands
Look for brands like Trek, Giant, Specialized, or Canyon, which offer entry-level models with decent specs and warranties. Canyon, in particular, sells direct-to-consumer, cutting out the middleman and offering better value.
Example: The Canyon Endurace AL 6.0 has a carbon fork, Shimano 105 groupset, and disc brakes for under $1,300—unmatched value at that price.
Used Bikes: Proceed with Caution
Used bikes can save money, but inspect carefully. Check for frame cracks, rust, worn drivetrain, and wheel trueness. Ask for service records and original purchase date.
Avoid bikes with heavy cosmetic damage or mismatched components. A $300 used bike might need $200 in repairs, making it a poor deal.
Online Retailers: Pros and Cons
Online shops like Competitive Cyclist, REI, or Chain Reaction Cycles often have sales and detailed specs. But you can’t test ride, and assembly may be required.
If buying online, choose retailers that offer free returns and professional assembly options. Some local shops will assemble and fit online purchases for a fee.
Essential Accessories That Won’t Break the Bank
You don’t need every gadget, but a few key items improve safety and comfort:
- Helmet: $50–$80 gets you a safe, certified model (e.g., Giro Register or Bell Zephyr).
- Water bottle and cage: $10–$15. Stay hydrated without stopping.
- Mini pump and spare tube: $25–$35. Fix flats on the go.
- Basic multitool: $20. For on-the-fly adjustments.
- Rear and front lights: $30–$50. Required for visibility.
Avoid expensive electronics like power meters or GPS units until you’re committed. A smartphone mount and free app (like Strava) are sufficient for tracking rides.
Maintenance Tips to Extend Your Bike’s Life
A well-maintained bike performs better and lasts longer. Basic upkeep costs little but prevents costly repairs.
Weekly Checks
- Check tire pressure (use a gauge, not guesswork).
- Inspect tires for cuts or embedded debris.
- Ensure bolts (stem, seatpost, pedals) are tight.
Monthly Tasks
- Lubricate the chain with bike-specific lube.
- Wipe down the frame and drivetrain.
- Check brake pad wear and alignment.
Seasonal Service
- Replace chain if stretched (use a chain checker tool).
- Inspect cables and housing for fraying.
- Have a shop check wheel bearings and headset.
Doing this yourself saves $50–$100 per service. Watch free tutorials online or ask a local shop for advice.
When to Upgrade vs. Adjust
Many new cyclists feel the urge to upgrade components early. Ask yourself: Is this fixing a problem or chasing performance?
Common upgrades that make sense:
- Comfortable saddle (if you’re sore after 20 miles).
- Better tires (for grip, comfort, or puncture resistance).
- Wider handlebars (if you feel cramped).
Avoid upgrading the groupset or wheels until the original parts wear out. Focus on fit and comfort first.
Final Tips for New Road Cyclists
- Start with short rides (10–15 miles) to build endurance and test your fit.
- Join a local cycling group or club—many offer free fit advice and beginner rides.
- Keep a log of discomfort or issues. Small notes help identify fit problems.
- Invest in padded cycling shorts—$30–$50 can eliminate saddle soreness.
- Be patient. It takes 10–15 rides to adapt to the bike and position.
Conclusion
Choosing the right bicycle setup doesn’t require deep pockets or expert knowledge. For budget-conscious new cyclists, the key is prioritizing fit, comfort, and smart component choices over flashy upgrades. Use simple measurements and adjustments to dial in your position, select a reliable entry-level bike with decent specs, and maintain it regularly. With the right setup, even an affordable road bike can deliver a smooth, enjoyable, and injury-free ride. This road cycling guide proves that smart choices—not big spending—lead to long-term success on two wheels.
FAQ
How much should I spend on my first road bike?
For new cyclists, $600–$1,000 is a realistic range. This gets you a quality aluminum frame, reliable groupset (like Shimano Sora or Tiagra), and room for basic upgrades. Avoid bikes under $400—they often have poor fit and components that wear out quickly.
Can I adjust my bike fit myself, or do I need a professional?
Yes, you can make most fit adjustments at home using basic tools and measurements. Start with saddle height, fore/aft position, and handlebar height. If you experience persistent pain or instability, consider a professional fit—but it’s not necessary to start.
Is a carbon frame worth the extra cost for beginners?
Not usually. Carbon offers a smoother ride and is lighter, but the difference is minimal for new riders. Aluminum frames are durable, affordable, and perform well. Save carbon for later when you’re riding longer distances and can appreciate the nuances.