


Road Cycling Mistakes That Can Slow Progress and Reduce Ride Enjoyment on Weekend Rides Leave a comment
Road Cycling Mistakes That Can Slow Progress and Reduce Ride Enjoyment on Weekend Rides
Many cyclists unknowingly hinder their performance and enjoyment on weekend rides due to common road cycling mistakes that stem from poor setup, inconsistent habits, or overlooked maintenance. Whether you’re a weekend warrior or training for longer events, small errors in bike fit, gear selection, or pre-ride preparation can lead to discomfort, inefficiency, and even injury. This guide highlights the most frequent road cycling mistakes that can slow progress and reduce ride enjoyment, with a focus on setup for weekend rides—so you can ride farther, faster, and more comfortably.
Why Setup Matters for Weekend Road Cycling
Weekend rides often serve as the cornerstone of a cyclist’s training or recreation routine. Unlike daily commutes or short spins, these longer outings demand more from your body and bike. A poorly set-up bike can turn a scenic 60-mile loop into a painful ordeal. Proper setup ensures efficient power transfer, reduces fatigue, and minimizes the risk of injury. It also enhances control and confidence, especially on descents, corners, and varied terrain.
Key Areas of Bike Setup That Impact Performance
Several components of your bike’s configuration directly affect how you ride. These include saddle height and position, handlebar reach and height, pedal and cleat alignment, and tire pressure. Each plays a role in comfort, aerodynamics, and power output. Neglecting even one can lead to inefficiencies that compound over distance.
Top Road Cycling Mistakes That Hurt Weekend Rides
Below are the most common road cycling mistakes that can slow progress and reduce ride enjoyment, especially noticeable during weekend outings.
1. Incorrect Saddle Height
Saddle height is one of the most critical aspects of bike fit. Too high, and you rock your hips; too low, and you strain your knees. Both scenarios reduce pedaling efficiency and increase injury risk. A saddle that’s too high forces you to overextend your leg, leading to hip instability and lower back pain. Conversely, a saddle too low increases knee stress and limits power output.
To find the right height, sit on the saddle with your heel on the pedal at its lowest point. Your leg should be fully extended without locking the knee. When you switch to the ball of your foot, there should be a slight bend—around 25–30 degrees—at the bottom of the pedal stroke.
Example: A rider with a 32-inch inseam might start with a saddle height of 74–76 cm from the center of the bottom bracket. Use a plumb line or smartphone app to fine-tune based on comfort and power.
2. Poor Handlebar Position
Handlebar reach and height influence aerodynamics, comfort, and control. A common mistake is setting the bars too low or too far forward, especially for new riders mimicking pro setups. While a low, aggressive position reduces wind resistance, it can cause neck, shoulder, and lower back strain—particularly on longer weekend rides.
For most recreational and fitness riders, a more upright position with a moderate reach improves comfort without sacrificing too much speed. Use spacers under the stem to raise the bars gradually. Aim for a position where your elbows are slightly bent at the top of the bars and your back is at a 45-degree angle or higher.
Warning: Avoid drastic changes. Adjust handlebar height in 5–10 mm increments and test over short rides before committing.
3. Improper Cleat Alignment
Cleat position affects pedal stroke efficiency and knee tracking. Misaligned cleats are a leading cause of knee pain, especially on the lateral side. If your cleats are rotated too far inward or outward, your foot will torque during the pedal stroke, stressing the patellar tendon.
Start by aligning the cleat so the ball of your foot is over the pedal spindle. Use a laser alignment tool or have a professional fit technician assist. Many riders benefit from a slight outward float (4–6 degrees), but excessive float can reduce power transfer.
Takeaway: If you experience knee pain on the outside of the joint, check cleat rotation first. It’s often the culprit.
4. Riding with Incorrect Tire Pressure
Tire pressure has a direct impact on rolling resistance, comfort, and grip. Many cyclists overinflate tires, believing higher pressure equals faster speed. While this was true on rough surfaces decades ago, modern wider tires (25–28mm) perform better at lower pressures, absorbing road vibrations and improving traction.
A common mistake is using the same pressure for all conditions. On rough pavement or wet roads, slightly lower pressure (within recommended limits) increases comfort and control. Use a tire pressure calculator based on your weight, tire width, and riding surface.
Example: A 160-pound rider on 25mm tires might run 85–90 psi in the rear and 80–85 psi in the front. Reduce by 5–10 psi for wet or rough roads.
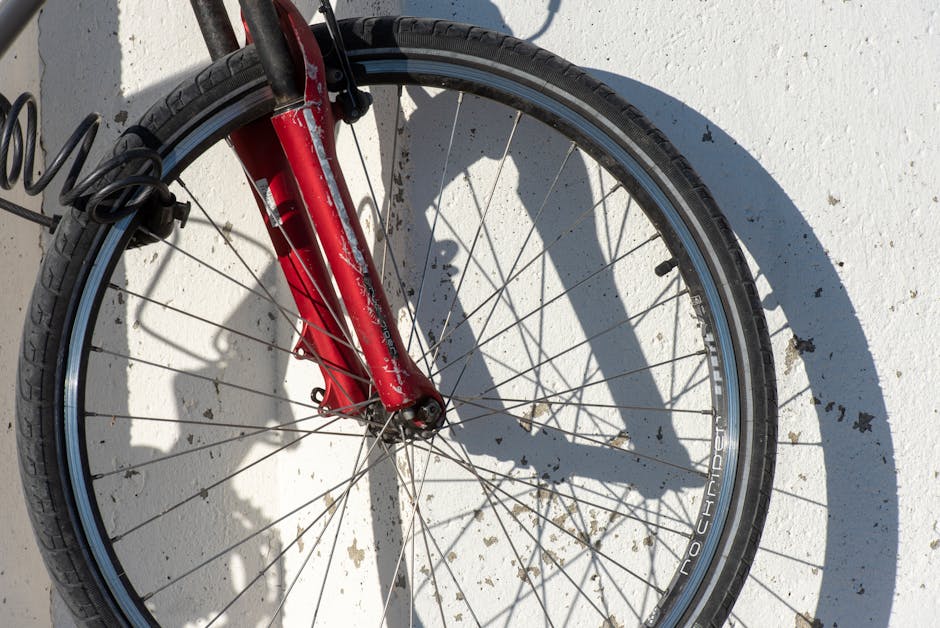
5. Neglecting Pre-Ride Bike Checks
Skipping a pre-ride inspection is a frequent oversight. Loose bolts, worn brake pads, or under-lubricated chains can turn a fun ride into a breakdown. Weekend rides often cover longer distances and remote routes, increasing the risk of mechanical issues.
Follow a quick checklist before every ride:
- Check tire pressure and look for cuts or embedded debris
- Test brakes for responsiveness and pad wear
- Ensure quick releases and thru-axles are secure
- Spin wheels to check for wobbles or rubbing
- Lube the chain if it’s dry or noisy
Warning: A loose stem or handlebar can cause a crash at speed. Always double-check after transporting your bike.
6. Wearing the Wrong Clothing
Cycling-specific apparel isn’t just for aesthetics. Padded shorts reduce saddle soreness, moisture-wicking jerseys prevent chafing, and gloves improve grip and reduce hand numbness. Riding in regular athletic wear may seem fine for short trips, but over 30+ miles, seams and fabric can cause irritation.
Invest in a good pair of bib shorts or padded shorts. Look for flatlock seams and a high-density chamois. For longer rides, consider a base layer to manage sweat.
Comparison: A $50 pair of cycling shorts with a quality chamois will outperform $15 athletic shorts in comfort over distance—worth the investment for weekend riders.
7. Carrying Too Much or Too Little Gear
Packing incorrectly affects balance and ride quality. Overloading your bike with unnecessary items adds weight and shifts your center of gravity. Conversely, forgetting essentials like a spare tube, pump, or multitool leaves you stranded.
For a typical weekend ride, carry:
- Spare tube (or tubeless plug kit)
- Mini pump or CO2 inflator
- Multitool with hex keys and chain breaker
- Tire levers
- Phone and ID
- Small first-aid kit and energy bar
Use a saddlebag or top tube bag to keep items secure and aerodynamic. Avoid large backpacks—they cause back sweat and instability.
8. Ignoring Hydration and Nutrition Timing
Dehydration and glycogen depletion sap energy and slow recovery. Many riders wait too long to drink or eat, especially on cool days when thirst isn’t obvious. By the time you feel fatigued, performance has already declined.
Drink 500–750 ml of water per hour, more in heat. Use electrolyte tablets if riding over 90 minutes. Eat 30–60 grams of carbohydrates per hour—gels, bananas, or energy bars work well.
Example: On a 4-hour ride, aim for two bottles of water with electrolytes and three energy gels spaced 45 minutes apart.
9. Riding in the Wrong Gear
Staying in too high a gear strains muscles and joints, while spinning too fast in low gears wastes energy. Efficient pedaling happens in the 80–100 rpm range for most riders. Use your gears to maintain this cadence, especially on hills.
Avoid “mashing” big gears uphill—it increases fatigue and risk of knee injury. Shift early and smoothly. On descents, don’t coast in the smallest cog; use moderate resistance to stay engaged.
Takeaway: Practice gear shifts during training rides to build muscle memory for weekend climbs.
10. Skipping Post-Ride Recovery
What you do after the ride is as important as the ride itself. Skipping cooldown stretches, hydration, or nutrition slows recovery and increases soreness. Weekend rides often back up against busy schedules, but neglecting recovery sets you up for burnout.
Within 30 minutes of finishing, consume a mix of protein and carbs (e.g., chocolate milk or a recovery shake). Stretch major muscle groups—quads, hamstrings, calves, and hips. Consider a short walk to keep blood flowing.
Warning: Ignoring recovery increases injury risk and reduces consistency—key for long-term progress.
How to Avoid These Mistakes Before Your Next Weekend Ride
The best way to prevent these road cycling mistakes is to adopt a routine. Create a pre-ride checklist that includes bike inspection, gear packing, and nutrition planning. Schedule a professional bike fit if you’re experiencing persistent pain or discomfort. Track your rides with a computer or app to monitor cadence, speed, and distance—this data helps identify inefficiencies.
Quick Setup Checklist for Weekend Rides
| Item | Check |
|---|---|
| Saddle height | Heel on pedal, leg straight at bottom |
| Handlebar position | Comfortable reach, slight elbow bend |
| Cleat alignment | Ball of foot over spindle, minimal float |
| Tire pressure | Adjusted for weight and conditions |
| Brake function | Pads grip rim, no squealing |
| Chain lubrication | Clean and lightly lubed |
| Essential gear | Spare tube, pump, tool, phone |
Final Thoughts
Road cycling mistakes that can slow progress and reduce ride enjoyment are often preventable with attention to setup and routine. From saddle height to tire pressure, small adjustments make a big difference on weekend rides. By addressing these common errors, you’ll ride more efficiently, recover faster, and enjoy every mile. Don’t wait for discomfort or breakdowns to force changes—proactive setup ensures your bike works for you, not against you.
FAQ
Q: How often should I check my bike before a weekend ride?
A: Perform a quick pre-ride check before every outing. A more thorough inspection, including brake pads and chain wear, should be done weekly or every 100–200 miles.
Q: Can I fix bike fit issues myself, or do I need a professional?
A: Minor adjustments like saddle height or handlebar angle can be done at home. For persistent pain or complex fit issues, a professional bike fit is recommended.
Q: Is it okay to ride with slightly low tire pressure for comfort?
A: Yes, as long as you stay within the tire’s recommended range and avoid pinch flats. Lower pressure improves comfort on rough roads but increases rolling resistance slightly.
Related keywords: Road cycling mistakes that can slow progress and reduce ride enjoyment with a focus on setup for weekend rides.