


Road Cycling Guide for Beginners Who Want to Train and Ride Smarter with a Focus on Gearing for City Streets Leave a comment
Road Cycling Guide for Beginners Who Want to Train and Ride Smarter with a Focus on Gearing for City Streets
If you’re new to road cycling and want to train efficiently while navigating city streets, understanding your bike’s gearing is essential. This road cycling guide for beginners who want to train and ride smarter with a focus on gearing for city streets breaks down how to choose the right gears, maintain momentum in traffic, and avoid common mechanical pitfalls. Whether you’re commuting, training for fitness, or exploring urban routes, smart gear selection helps you conserve energy, respond to stoplights and intersections, and ride confidently through mixed terrain. We’ll walk you through gear ratios, shifting techniques, bike setup, and practical training tips tailored to real-world city riding.
Why Gearing Matters More on City Streets Than You Think
Unlike long, open roads or mountain trails, city streets demand constant speed changes. You’ll face stop signs, traffic lights, potholes, hills, and pedestrians—all requiring quick adjustments in effort and cadence. A poorly timed shift or mismatched gear can leave you straining uphill or spinning out on flat stretches. Proper gearing ensures you maintain an efficient pedaling rhythm (cadence) between 70–90 RPM, which reduces fatigue and improves endurance.
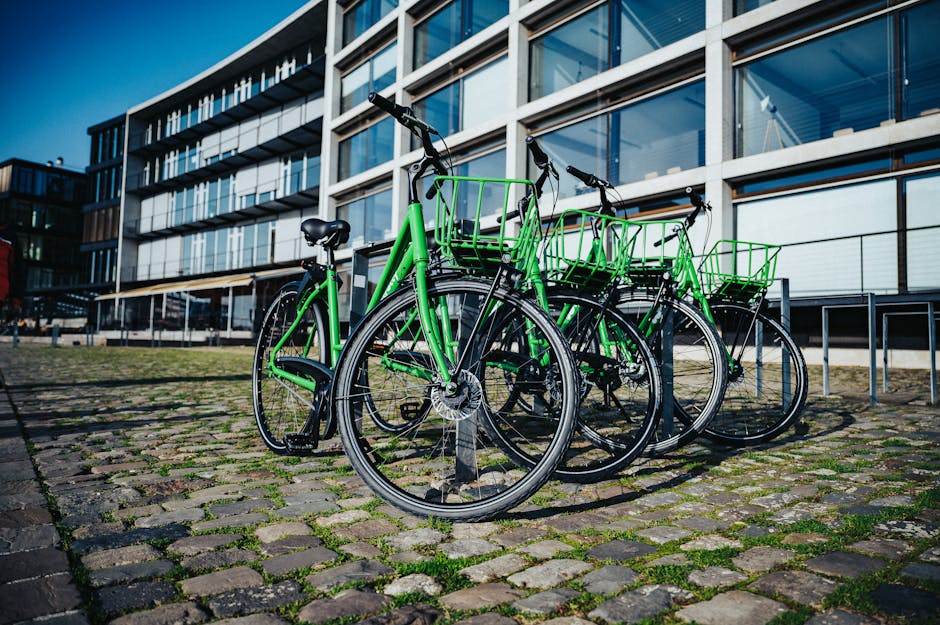
Most beginner road bikes come with a standard double chainring (e.g., 50/34T) and an 11–28T cassette. This setup offers a wide range of gears, but not all are useful in urban environments. For example, the big ring (50T) paired with a small cog (11T) gives high speed on open roads—but it’s rarely needed in stop-and-go city traffic. Conversely, the small ring (34T) with larger cogs (25–28T) provides easier climbing, ideal for short hills or accelerating from a red light.
Understanding Gear Ratios and When to Use Them
Gear ratio is the relationship between the front chainring and rear cog. A lower ratio (e.g., 34×28) means easier pedaling; a higher ratio (e.g., 50×11) means harder pedaling but more speed per pedal stroke. In cities, you’ll mostly use mid-to-low ratios.
Here’s a practical breakdown of when to shift:
- Starting from a stop: Use the small chainring and a mid-to-large cog (e.g., 34×24 or 34×28). This gives you torque to accelerate smoothly without wobbling.
- Cruising on flat streets: Shift to the big ring (50T) with a mid-range cog (15–19T) once you’re moving steadily. This balances speed and effort.
- Approaching a hill: Drop to the small ring early. Anticipating the incline lets you maintain cadence instead of grinding to a halt.
- Descending or open stretches: Use higher gears (50×13 to 50×11) only if traffic allows sustained speed. Avoid over-gearing—spinning out wastes energy.
A common mistake beginners make is “cross-chaining”—using the big ring with the largest rear cog or the small ring with the smallest. This strains the chain and drivetrain. Stick to the middle of the cassette when in the big ring, and the outer cogs when in the small ring.
Choosing the Right Bike and Gearing Setup for City Riding
Not all road bikes are created equal for urban use. While racing bikes prioritize speed, endurance or gravel bikes often suit city riders better due to their relaxed geometry, wider tire clearance, and more versatile gearing.
If you’re buying your first road bike, consider these features:
- Compact crankset (50/34T): Ideal for hilly or mixed-terrain cities. Offers easier climbing than standard (53/39T) setups.
- Wide-range cassette (11–32T or 11–34T): Gives more low-end options for steep climbs and quick accelerations.
- Disc brakes: Provide reliable stopping power in wet or stop-and-go conditions.
- Tire width (28–32mm): Wider tires absorb road vibrations and handle potholes better than narrow 23mm race tires.
For example, a bike with a 34T small ring and 11–32T cassette gives you a lowest gear of 34/32 ≈ 1.06, which is excellent for steep urban inclines. Compare that to a standard 39/28 ≈ 1.39—noticeably harder to pedal from a standstill.
Upgrading Your Gearing: When and How
You don’t need to upgrade immediately, but if you live in a hilly city or frequently carry loads (e.g., a backpack or panniers), consider these options:
- Swap the cassette: Replace an 11–28T with an 11–32T for easier climbing. Compatible with most modern derailleurs.
- Install a wider-range derailleur: A long-cage rear derailleur (e.g., Shimano GRX or Sora RD-R3000) handles larger cassettes better.
- Add a triple crankset (rare): Offers even lower gears but adds complexity. Only consider if you face extreme hills regularly.
Always consult a bike mechanic before making drivetrain changes. Mixing incompatible components can cause poor shifting or damage.
Shifting Techniques for Smoother, Safer City Rides
Good shifting isn’t just about gear selection—it’s about timing and technique. Smooth shifts reduce wear and help you maintain control in traffic.
How to Shift Properly
- Ease pedal pressure when shifting: Back off slightly on the pedals as you click the shifter. Full pressure during a shift can cause the chain to skip or jam.
- Anticipate shifts: Don’t wait until you’re straining uphill to downshift. Shift early when you see a red light or incline ahead.
- Use both shifters together: Cross-shift when appropriate—e.g., shift to the small ring and a smaller cog simultaneously to maintain cadence.
- Practice cadence control: Aim for 80–90 RPM on flats. If you’re bouncing in the saddle, you’re in too high a gear. If your legs are spinning wildly, go up a gear.
Example: Approaching a red light? Start downshifting 2–3 gears before you stop. This way, you’re already in an easy gear when the light turns green, allowing quick, stable acceleration.
Common Shifting Mistakes to Avoid
- Shifting under heavy load: Causes chain stress and potential breakage. Always lighten pedal force.
- Ignoring chainline: Avoid extreme combinations like big ring + largest cog. It increases wear and noise.
- Forgetting to shift back: Staying in a low gear on flat roads wastes energy. Shift up as speed increases.
Training Smarter: Building Endurance and Efficiency on City Routes
City riding is inherently interval-based—perfect for building cardiovascular fitness and leg strength. Use this to your advantage with structured training.
Beginner-Friendly Training Plan (4 Weeks)
This plan assumes 3 rides per week, 30–60 minutes each. Always warm up with 5–10 minutes of easy spinning.
| Week | Focus | Workout Example |
|---|---|---|
| 1 | Consistency & Cadence | 30-min ride: 5-min warm-up, 20-min steady pace (70–80 RPM), 5-min cool-down |
| 2 | Gear Shifting Practice | 40-min ride: Practice shifting every 2 minutes. Focus on smooth transitions |
| 3 | Hill Repeats | Find a moderate hill. Climb in low gear (34×28), recover on descent. Repeat 4x |
| 4 | Interval Sprints | 5-min warm-up, 6x (1-min sprint in mid-high gear, 2-min recovery), 5-min cool-down |
Track your progress with a basic bike computer or smartphone app. Look for improvements in average speed, cadence consistency, and perceived effort.
Tips for Efficient Urban Training
- Use traffic lights as interval markers: Sprint between green lights, recover at reds.
- Ride against light traffic: Early mornings or late evenings offer smoother routes with fewer stops.
- Combine routes: Mix flat streets, hills, and bike lanes to build versatility.
- Stay visible and predictable: Use lights, hand signals, and ride in straight lines. Safety supports consistent training.
Maintaining Your Drivetrain for Reliable Shifting
A clean, well-maintained drivetrain shifts smoother and lasts longer. City riding exposes your bike to dust, rain, and grime—accelerating wear.
Essential Maintenance Routine
- Clean the chain weekly: Use a degreaser and brush. Wipe thoroughly before re-lubing.
- Lubricate properly: Apply wet lube in rainy climates, dry lube in dry/dusty areas. Wipe off excess to avoid attracting dirt.
- Check cable tension: If shifting becomes sluggish, cables may need adjustment. A bike shop can fine-tune this.
- Inspect chain wear: Use a chain checker tool. Replace chains every 1,500–2,000 miles to prevent cassette damage.
Neglecting maintenance leads to poor shifting, increased effort, and costly repairs. A 5-minute weekly check saves hours of frustration later.
Riding Smart: Safety, Etiquette, and Gear Tips
Smart riding isn’t just about mechanics—it’s about awareness and preparation.
- Wear a helmet: Non-negotiable. Choose one with good ventilation and a secure fit.
- Use front and rear lights: Even during the day. Many drivers don’t see cyclists until it’s too late.
- Wear bright or reflective clothing: Increases visibility in low-light conditions.
- Follow traffic rules: Ride with traffic, obey signals, and use bike lanes when available.
- Carry a basic repair kit: Include a spare tube, tire levers, mini pump, and multi-tool.
Avoid headphones while riding. Hearing traffic, sirens, and horns is critical for safety.
Final Thoughts: Ride Smarter, Not Harder
This road cycling guide for beginners who want to train and ride smarter with a focus on gearing for city streets emphasizes practical, actionable advice. You don’t need elite fitness or expensive gear to start—just the right knowledge. Master your shifting, maintain your bike, and train with intention. Over time, you’ll find yourself riding farther, faster, and more confidently through the urban landscape.
Remember: the best gear is the one you use correctly. Start simple, stay consistent, and let your city become your training ground.
FAQ
What’s the best gear to start in when stopping at a red light?
Use the small chainring (e.g., 34T) with a mid-to-large cog (24–28T). This gives you low resistance for smooth acceleration when the light turns green.
Can I use a road bike for daily city commuting?
Yes, but opt for a model with wider tires (28–32mm), disc brakes, and mounts for racks or fenders. These features improve comfort, control, and practicality in urban conditions.
How often should I clean and lube my bike chain?
Clean and lube your chain every 100–150 miles or weekly if you ride frequently in wet or dirty conditions. A well-maintained chain shifts better and lasts longer.